
You have chosen your next sewing project and cannot wait to get started. First, though, there is the PDF sewing pattern to deal with: printing, sorting the pages, taping them together and cutting them out. Cutting fabric with a projector lets you skip the paperwork. Your sewing pattern is projected directly onto your fabric.
For those projected lines to become a well-fitting garment, the file scale, projection and fabric placement all need to be right. Here you will learn what equipment you need, what to look for in projector pattern files and how to prepare your workspace for your first cutting session.
Contents
1. How does cutting fabric with a projector work?
2. Who is projector sewing for?
3. What do you need for projector sewing?
4. Which projector is suitable for sewing patterns?
4.1. Assess sharpness and brightness together
4.2. Check mounting options and permitted operating angles
5. Which sewing patterns can you use with a projector?
5.1. A4, US Letter or A0: How to prepare existing sewing patterns
5.2. Plan your cutting layout before making the first cut
6. What software do you need? Pattern Projector explained
6.1. Connecting your projector to a laptop: What goes on each screen?
7. Projector calibration: Prepare for your first cutting session
8. Cutting fabric with a projector: Practical tips
8.1. Single-layer cutting, cutting on the fold and mirroring: What is the difference?
9. Common problems when cutting fabric with a projector
1. How does cutting fabric with a projector work?
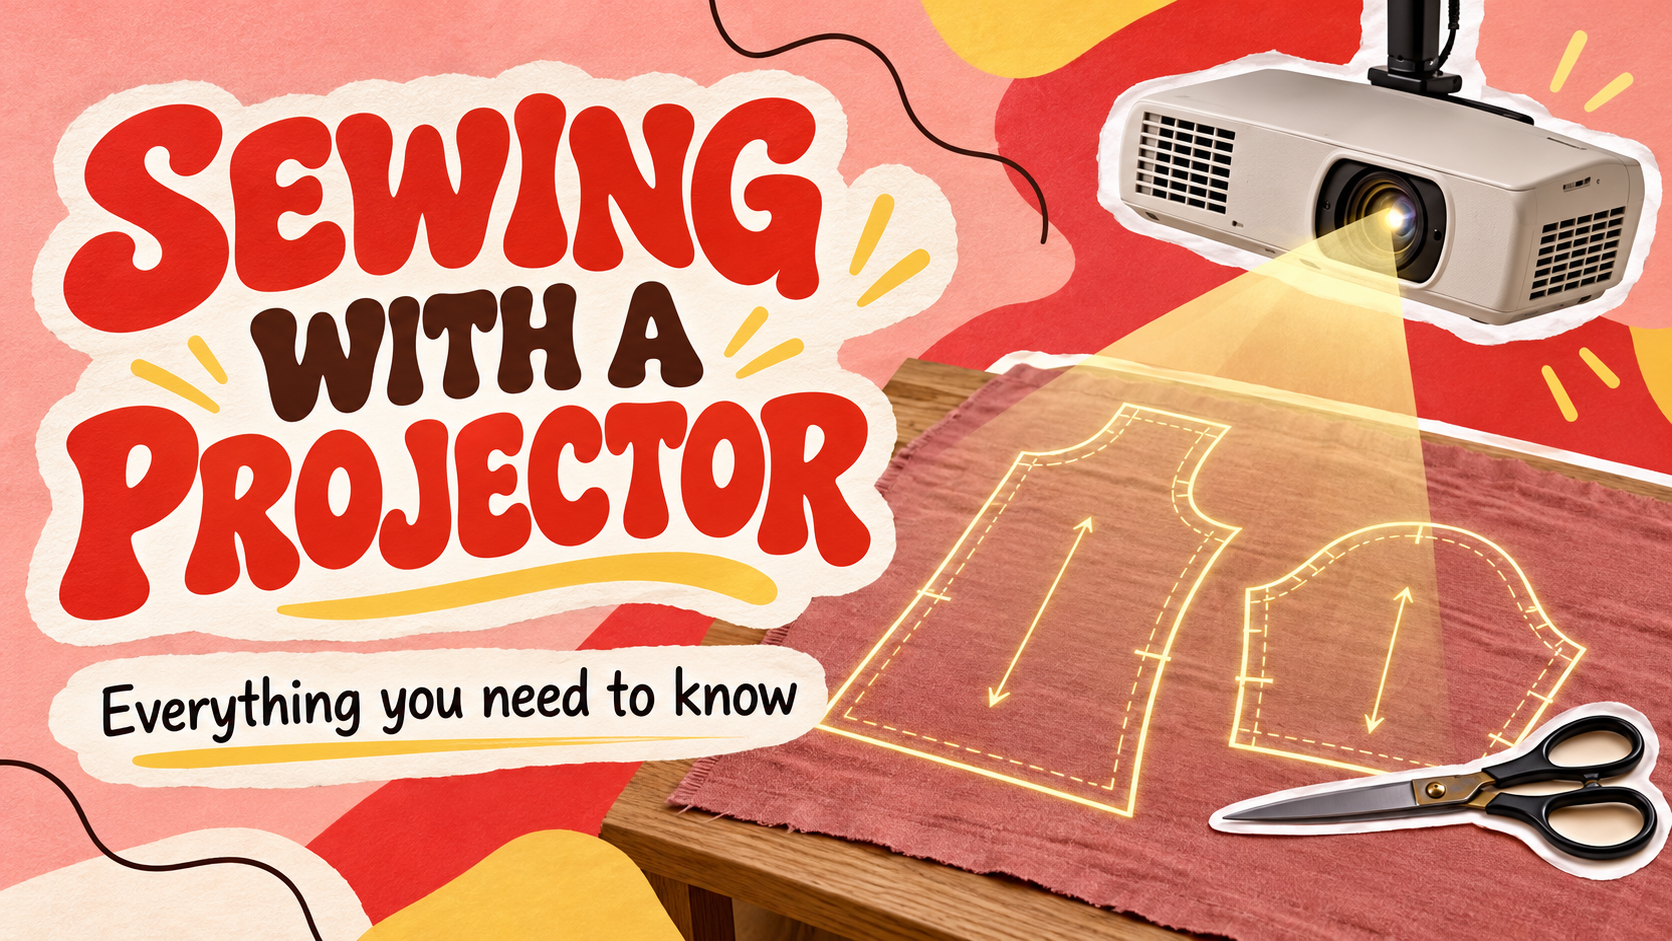
A projector displays your digital sewing pattern from your computer onto the cutting surface. With your fabric laid out underneath, you can trace the projected cutting lines or cut directly along them.
The term “projector sewing” mainly describes a different way of transferring patterns and cutting fabric. You then sew the pieces together on your sewing machine as usual.
Accurate scale is essential: a ten-centimetre line in the pattern file must also measure ten centimetres on your cutting table. Adjusting the projection to achieve this is called calibration.
2. Who is projector sewing for?
This method is particularly useful if you regularly use digital sewing patterns, sew several sizes of the same design or often try out revised pattern versions.
You need fewer printed pattern sheets and can open a new file without taping pages together again. In return, you need to budget for the equipment, set up your workspace and check the projection.
A permanent cutting station makes everyday use easier. A portable setup can work too, but you will need to check it again after moving it.
If you only sew occasionally or particularly enjoy making pattern adjustments on paper, paper sewing patterns may still suit you better. You can also combine both methods.
3. What do you need for projector sewing?
To get started, you will need the following:
| Equipment | What to look for |
| Projector | Suitable image size, sufficient contrast and sharp outlines |
| Mount or stand | A stable setup and an operating position permitted for your projector |
| Computer and connection | For opening the pattern file and sending the image to the projector |
| Digital sewing pattern file | Full scale, complete pattern pieces and clearly legible markings |
| Flat cutting surface | The fabric and calibration grid must lie flat |
| Ruler or reliable grid | For checking scale and geometry |
| Cutting tools | Fabric scissors or a rotary cutter with a suitable cutting mat |
You do not need a projector specifically marketed as a “sewing projector”. What matters is whether it suits your room and cutting surface.
4. Which projector is suitable for sewing patterns?
4.1. Check image size and throw distance first
Measure the planned distance from the lens to the fabric surface. Ceiling height alone is not enough: the table, mount and projector housing reduce the available distance.
Image size depends on the lens. As a rough guide:
Image width = throw distance ÷ throw ratio
For example, a throw distance of two metres and a throw ratio of 1.2 produce an image approximately 1.67 metres wide. At a 16:9 aspect ratio, it is around 94 centimetres high. Check the manufacturer’s specifications and your chosen zoom setting.
The projection does not have to cover your entire table. What matters is whether the usable area is large enough for your typical pattern pieces.
4.2. Assess sharpness and brightness together
Check the native resolution. “4K supported” does not necessarily mean the projector displays images at 4K resolution.
Native Full HD is a sensible starting point when buying a new projector. You do not necessarily need to replace an existing lower-resolution model, though: check whether you can see lines, notches and labels clearly enough.
Lighting matters just as much. Test the projection on light, dark and patterned fabrics. An image that is easy to see on white paper may be much less visible on dark fabric.
4.3. Check mounting options and permitted operating angles
A ceiling mount alone does not make a setup suitable for cutting fabric. The projector must also support the intended operating angle.
“Suitable for ceiling mounting” does not automatically mean “can project vertically downwards”. Check the manual for your specific model. For example, Epson explicitly states that the EF-21 can be installed without vertical or horizontal angle restrictions. This does not necessarily apply to other projectors.
5. Which sewing patterns can you use with a projector?
Files designed for projection are the easiest to work with. A good projector sewing pattern file offers features such as:
- individually selectable size layers,
- clear outlines and large labels,
- clearly marked grainlines, notches and fold lines,
- plenty of space around the pattern pieces,
- clear information about seam allowances and how many pieces to cut.
Full or mirrored pattern pieces can make single-layer cutting easier. These are among the recommended features of projector-friendly pattern files.
An A0 pattern file may also be suitable. A0 simply refers to the page size. How easy a pattern is to project also depends on its layout, lines and labels. Multi-page files may need to be assembled digitally first.
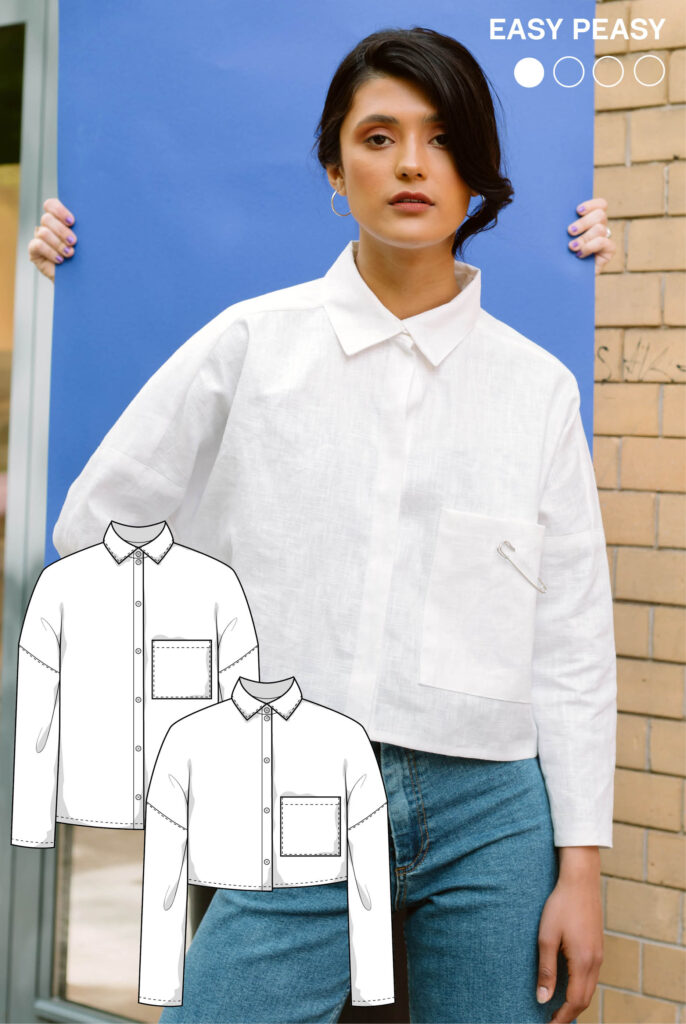
For example, The Carly Balloon Pants sewing pattern from JULIANA MARTEJEVS includes layered PDF files in A0, A4 and US Letter formats. Check each product description to see which formats are included. Before cutting, make sure your chosen file is displayed in full and is easy to read in your setup.
Recommended products
-

Oversized Blouse Sewing Pattern NOELLA
From 9,95 € -
Hobo Bag sewing pattern CLEO
From 9,95 € -
Balloon Pants Sewing Pattern CARLY
From 9,95 € -
Blanket Coat Sewing Pattern NELLY
From 12,95 €


5.1. A4, US Letter or A0: How to prepare existing sewing patterns
Already have digital sewing patterns but no dedicated projector file? You can often prepare these files for projection too.
In A4 and US Letter files, the pattern pieces are spread across several printable pages. These pages need to be assembled digitally in the correct positions. One option is the free program PDFStitcher. It can join PDF pages into one large page, edit size layers and adjust lines and page margins. Visit the official PDFStitcher website.
The page layout and overlaps in your sewing pattern are crucial: some files are assembled edge to edge, while others have margins that need trimming. Follow the same instructions when preparing the file digitally, then check that the joins align correctly.
An A0 file often saves you this step, but it is not automatically an ideal projector pattern file. Very large pattern pieces may still span several pages. Small labels and narrow page margins can also make the file harder to use.
After every edit, check a known reference measurement. Changing a file’s page size must not accidentally resize the pattern pieces.
5.2. Plan your cutting layout before making the first cut
With paper patterns, you can arrange all the pieces on your fabric at once. With a projector, you often see only part of the layout. If you start with a small piece, you may later find that there is no suitable space left for a larger one.
Plan the full cutting layout before making your first cut. Use the layout in your sewing instructions as a guide and check the fabric width, the number of pieces to cut, the grainline and any nap or directional print.
You can mark out the areas you need with tailor’s chalk first. Alternatively, plan the layout digitally: in a drawing program, create an area matching your fabric dimensions and arrange the pattern pieces on it. Trying out different arrangements like this is often called “pattern Tetris”.
Only rotate pieces as far as the grainline and fabric allow. A space-saving layout is no help if incorrect alignment changes the way your finished garment hangs.
6. What software do you need? Pattern Projector explained
One option is Pattern Projector, a free, open-source web app. It helps with calibration and offers features including size layers, colour changes, adjustable line thickness, and rotating and mirroring sewing patterns. It can also assemble multi-page PDFs digitally. Open Pattern Projector (German version)
A wired connection from your computer to the projector is a straightforward way to get started. Depending on your MacBook or Windows laptop, you may need a suitable HDMI adapter. Your projector does not need a dedicated streaming feature.
6.1. Connecting your projector to a laptop: What goes on each screen?
Your computer sends the image to the projector, for example via HDMI. If your laptop does not have a suitable port, you will need an adapter that supports video output.
You can mirror the same content on your laptop and projector or use the projector as an additional display. With an extended desktop, move the pattern projection window onto the projector’s display. If it stays on the laptop screen, you may see only the desktop projected onto your fabric.
Choose your display setup before calibrating. If you later change the resolution or display mode, check the scale again. While cutting, make sure notifications or a screensaver cannot obscure the pattern lines.
7. Projector calibration: Prepare for your first cutting session
Calibration aligns the projection with a physical reference area. A PDF zoom setting of “100%” alone does not guarantee that the pattern appears at full size on your fabric.
The basic setup in Pattern Projector works as follows:
- Set up the projector securely and focus the image.
- Choose a flat reference area with known dimensions.
- Open the calibration grid and enter the correct width and height.
- Align the projected grid corners and lines with the physical reference.
- Then open your sewing pattern file and check known measurements.
You do not need to use your entire cutting mat. What matters is an accurately measured area within the projection. The Pattern Projector calibration guide explains the individual controls.
Do not check only a small square in the centre. Measure longer distances in both directions and check the edges too. An image can be accurate in the middle but distorted elsewhere.
Check the calibration again if you move the projector, change the height of your cutting surface or adjust relevant image settings. This also applies if automatic image correction changes the projected area.
8. Cutting fabric with a projector: Practical tips
Prepare your fabric and lay it out without stretching
Prepare your fabric according to its properties. It should lie flat and relaxed while you cut. In particular, do not let stretchy fabrics hang over the table edge, as their weight can stretch them out.
Check the grainline and fold line
Align the marked grainline with your fabric. For woven fabrics, compare the distance to the selvedge at two points as far apart as possible.
A pattern piece marked “cut on the fold” must be positioned correctly against the folded edge of the fabric. For single-layer cutting, you need the full shape or a correctly mirrored second half.
Check seam allowances
Projection does not add missing seam allowances. Read the information on the pattern and in the instructions before cutting. If seam allowances are not included, add and mark them as required.
Transfer all pattern markings
Transfer notches, darts, pocket positions and any other important markings before moving the projection to the next pattern piece. Choose a marking tool suitable for your fabric and test it on a scrap first.
Pattern weights can help prevent the fabric from shifting. Always use a suitable cutting mat underneath when working with a rotary cutter.
Work on large pattern pieces in sections
If a trouser leg or a long dress piece does not fit within the projected image, do not shrink it to make it fit. This would change the scale.
Instead, use a method for moving the projection in sections with clear alignment marks. Check the alignment in the overlapping area. On your first attempt, it is a good idea to trace the entire outline before cutting.
8.1. Single-layer cutting, cutting on the fold and mirroring: What is the difference?
For single-layer cutting, lay the fabric unfolded on your work surface. This can help you position prints precisely and check the placement of each part of the fabric.
There are two different situations to distinguish:
A pattern piece cut on the fold: The file often shows only half the shape, such as half a front piece. With folded fabric, the fold line sits along the fabric fold. For single-layer cutting, you need the complete shape made up of both mirrored halves. The shared centre line is not a cutting line.
Two mirrored pieces: To create a left and a right piece, you need a mirrored pair. If you cut both pieces in a single layer with the same side of the fabric facing up, mirror the second outline accordingly. Otherwise, you will end up with two pieces facing the same way.
Pattern projection software can help you mirror pieces. Even so, check the instructions for the fabric side, number of pieces and orientation before every cut. For asymmetric designs, follow the instructions for that specific sewing pattern.
9. Common problems when cutting fabric with a projector
| Problem | What to check |
| The sewing pattern appears too large or too small | File scale, calibration and any additional scaling |
| The centre is sharp but the edges are blurry | Alignment, focus, permitted throw distance and the flatness of the surface |
| The projected image is trapezoid-shaped | Projector position and geometric correction |
| Pattern lines disappear against the fabric | Room lighting, line colour, background and line thickness |
| The scale is wrong after switching the projector back on | Automatic image adjustments or changed settings |
| The cut pieces do not fit together | Fabric stretching, grainline, seam allowances and accuracy across the entire cutting area |
Projector sewing FAQs
Possibly. First, test image size, readability and sharpness at your planned throw distance. For an overhead setup above your cutting table, the mount and operating angle must also be suitable.
No. A suitable A0 file can work too. Dedicated projector pattern files are often easier to use because of their layout and design. Multi-page A4 files may need digital preparation first.
A stable setup that has not changed can retain its calibration. It is still worth doing a quick measurement check before every cutting session. Recheck the calibration after moving the projector or changing the image geometry.
Yes, with a suitable portable setup. Allow time for positioning and calibration. Whether this works for you depends on how often you sew and how quickly you can set up your workspace.
Not automatically. Both methods can produce accurate results. With projection, calibration, image sharpness and keeping the fabric in place are particularly important.
Your first projector sewing project
Start with a manageable pattern piece and a fabric scrap. Check the scale, trace the outline and measure the result. This helps you get to know your setup before cutting into your favourite fabric.
Once your setup is ready, you can choose your next project: explore the modern sewing patterns from JULIANA MARTEJEVS and check the product descriptions to see which digital file formats are included.